
In my first Nap time DIY Series I showed you how I was able to simply and easily transform our fireplace mantel with some paint that we already had. This week, I’m showing you how I turned an unused corner in my living room into an amazing mini office for myself. I LOVE it! I have the separation I need to get some work done, but I still feel like I’m part of the family when I’m in the corner working.
Now that my husband is working from home full time, due to the Coronavirus pandemic, I needed to find a space where I can do my work. He has taken over what was supposed to be our shared office in our “new to us” home that we purchased and moved into this past fall. I don’t work at a desk all day as my husband does, but I do need a comfortable space to be able to get some work done for an hour or two each day. Some days, it’s writing blog posts, creating images to use on my social media sites, and other day’s it’s writing cards or paying bills. It doesn’t really matter what I need to do, I just need a space to call my own and to be able to work on whatever I need to work on. I have successfully created that in this amazing mini office, in the corner of my living room.
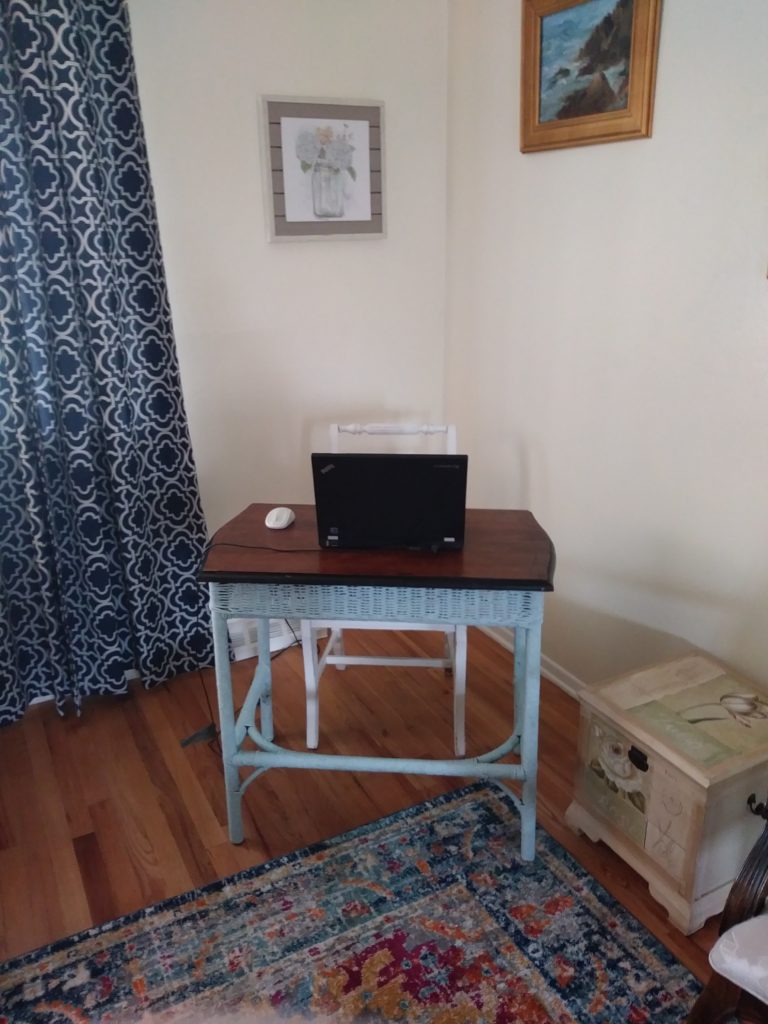
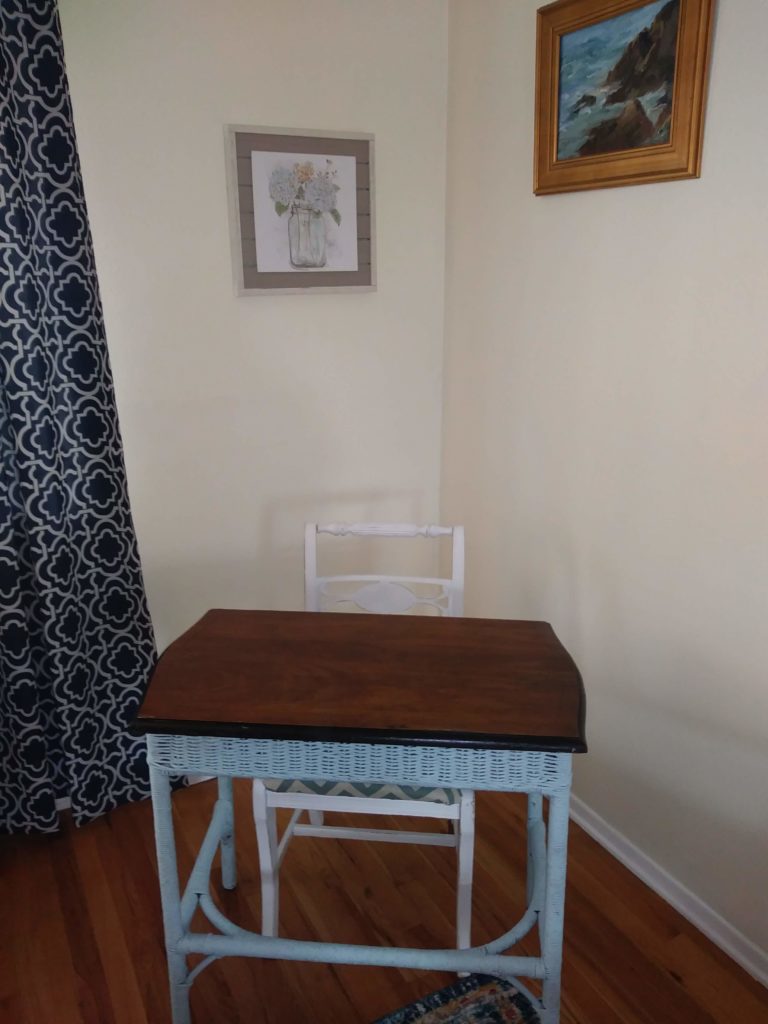
I found this cute little, one drawer light blue wicker desk with a beautiful wood top and gorgeous crystal pull on the drawer, at an Antique shop in Wheat ridge, Colorado. The shop is more of an Antique Mall, with many vendors in the same building selling unique items. I love it when I come across stores like this and find unique things that will be new to me and I will love.
To get the desk ready to use, all I had to do was polish the top of the desk. It was almost perfect when I brought it home, but I felt like I needed to shine it up a bit. To do that, I use, Feed n Wax Wood polish by Better Bee to clean and polish all of my wood surfaces. I LOVE this product. It cleans the surfaces and then when you use a soft cloth to go back over it to get any excess oil off of the wood, it leaves a beautiful shine on the wood. Amazingly, this also helps keep the dust down. Colorado is very dry and we tend to have a ton of dust, so it shines it up and helps you to have to not have to dust as often. Win-win!
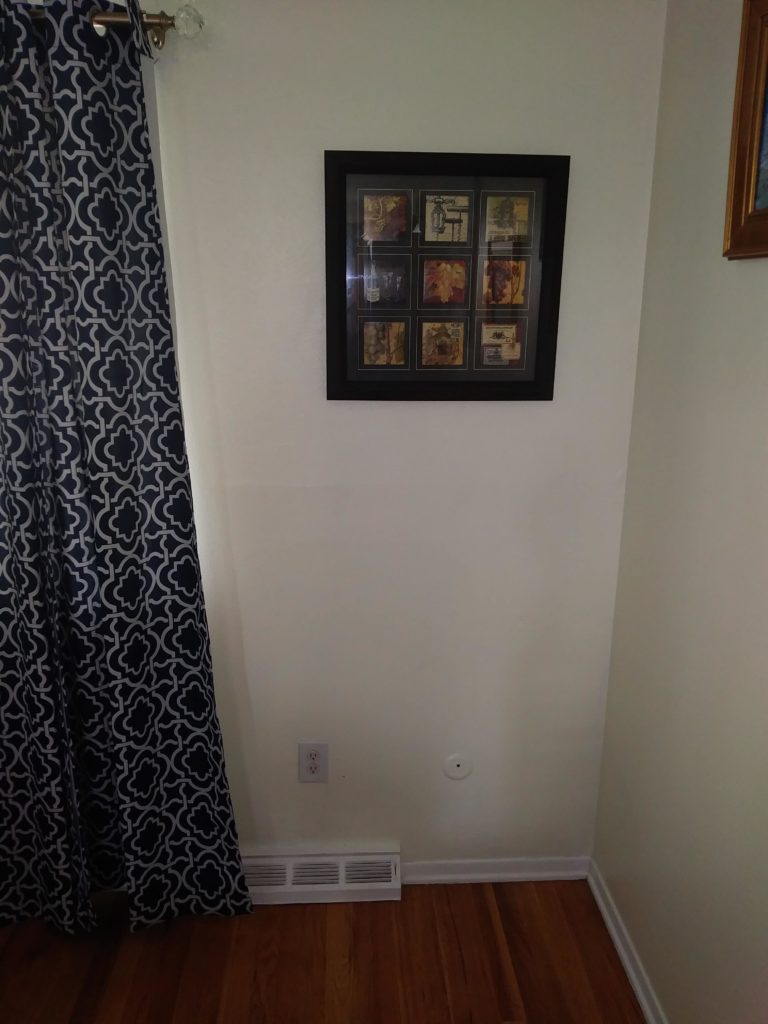
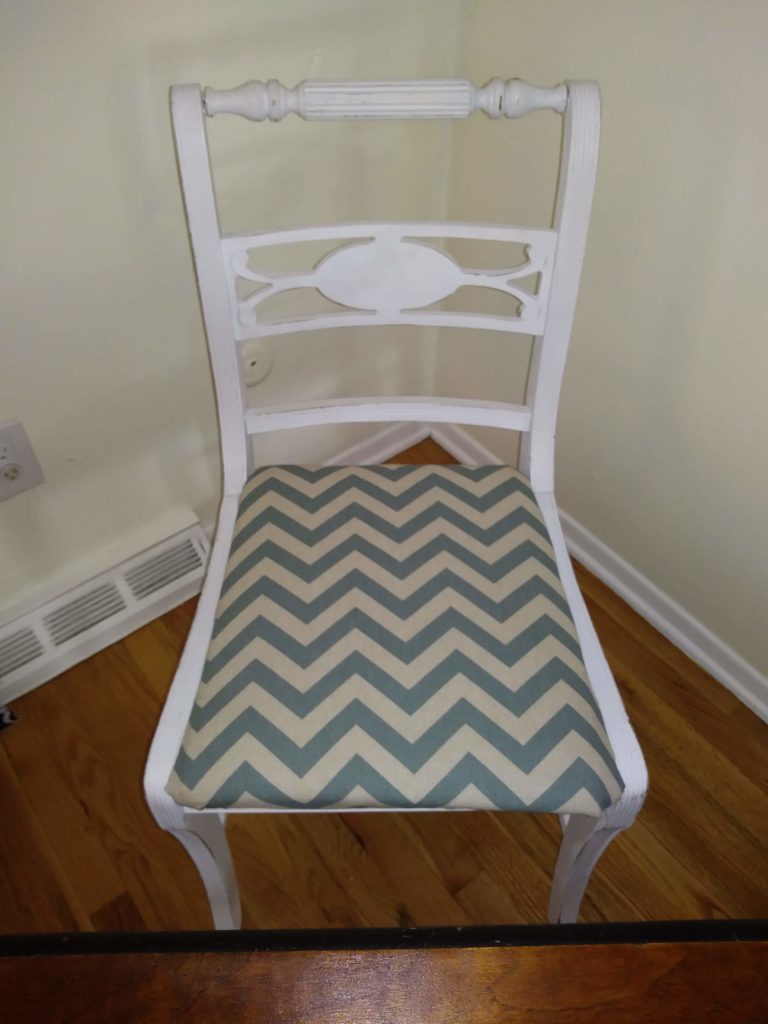
I didn’t have to do too much work to get the corner ready since it was pretty much empty all ready. I did take down the wine themed framed art from the wall and moved it to our basement, where it fit in more in our game area. My Mother-in-Law found the Mason Jar themed art work while she was out shopping (before the stay at home orders went into effect) and gave that to me as a gift. I love it in the new corner mini office and it goes with the rest of my furniture and art work in the living room. I did recover the chair so that it matched better. The chair was really pretty but the fabric that was on the seat just didn’t work for the look I was going for.
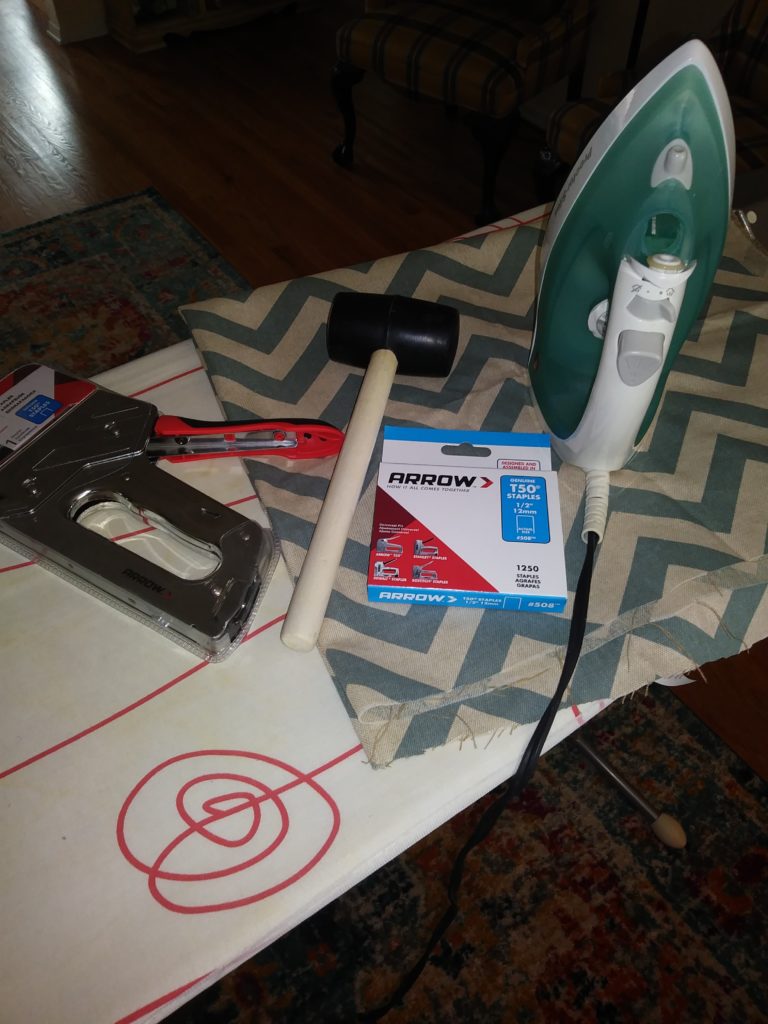
Recovering the chair took a few tools and a little bit of time, but over all, it wasn’t that hard to do. I did need another set of hands to help me pull tight as I was stapling the fabric into place on the back side of the seat. Especially when it was time to maneuver and staple the corners. Corners can be tough. I find the best way to do them so they don’t bunch is to fold the corner almost like you are wrapping a present and then staple, pull tight, staple again and repeat until you get it the way you want it to look. You want to try to have smooth, tight corners. If you can’t get them perfectly the way you’d like them, don’t stress, most likely no-one but you will even notice if it’s not perfect.
Here’s a list of the materials I used and you will need to recover a cushion on a chair:
- You will need a chair that has a cushion that needs to be recovered. Duh! Thanks, Captain Obvious! Ha! 🙂
- Safety goggles or eye protection.
- The fabric you plan to use to cover the cushion. I usually get a little bit more than I probably need to cover it just to be safe. If you measure the seat (width and length) the fabric store should be able to help you figure out exactly how much fabric you will need. Upholstery fabric is a bit more expensive than other regular sewing fabric, so you don’t want to have to buy more than you really need.
- An Iron and Ironing board, to iron the fabric before you start to cover the seat and staple it in place.
- A staple gun with at least 1/2 ” staples. In the video I share below, she uses a pneumatic staple gun, but I use a traditional staple gun. Your choice!
- A piece of foam cut a little bit smaller than the seat to add a little extra softness to your cushion. If it’s an older chair the foam or batting in the cushion has most likely worn down. Getting a new piece and cutting it to size or asking at your craft/fabric store for them to cut it for you, will make it much easier when you are ready to start your project. The foam goes on top of the seat, under the new fabric you are going to staple on to the seat.
- A round screwdriver to unscrew the seat cushion from the chair and then re-screw the cushion back on after you have created your new upholstered masterpiece! You will need a flathead screwdriver to remove the old staples from the seat, to remove the old fabric before you get started with your new fabric.
- A pair of fabric cutting scissors. A pair of sewing scissors work best. You will need these to trim your fabric when you start stapling and will most likely need them for the corners so you don’t get too much fabric built up.
- A sense of humor! You probably aren’t going to do it perfectly the first time and that’s OK! Just know that this, as with anything, will just get better with practice. Or you can watch a “how-to” video, like the one below from Homes.com, so that you are more confident as you embark on this project. The video is short and easy to follow along. I use “how-to” videos all of the time to help me navigate my projects.
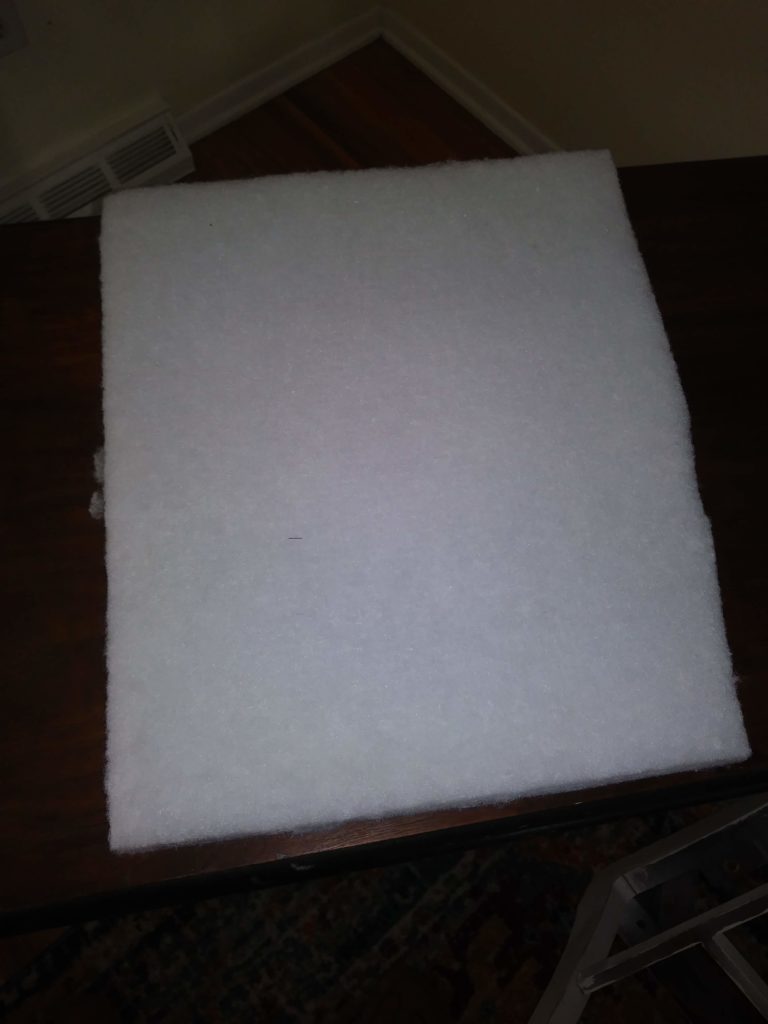
Cushion cut a bit smaller than the size of the seat 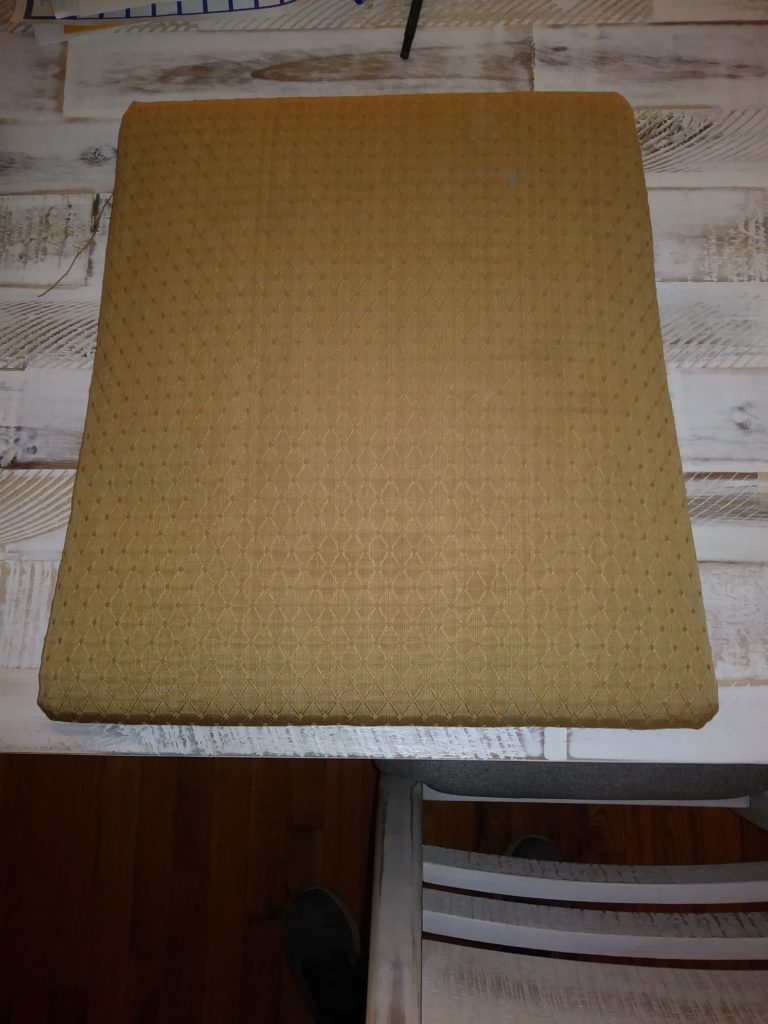
Seat “Before” 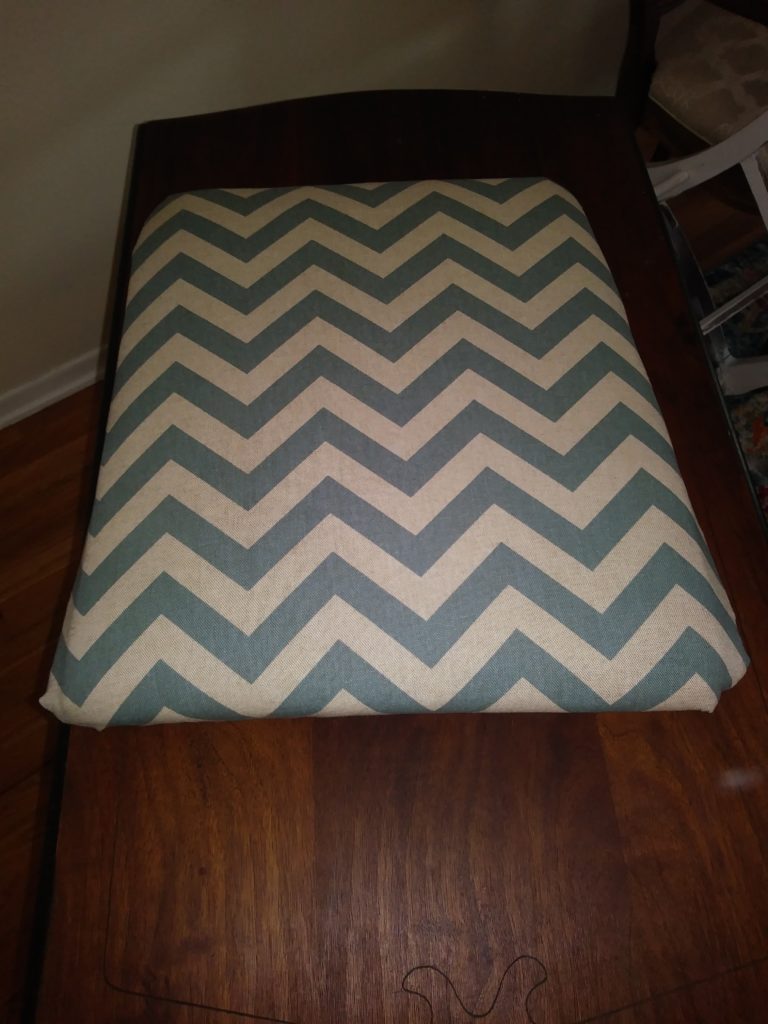
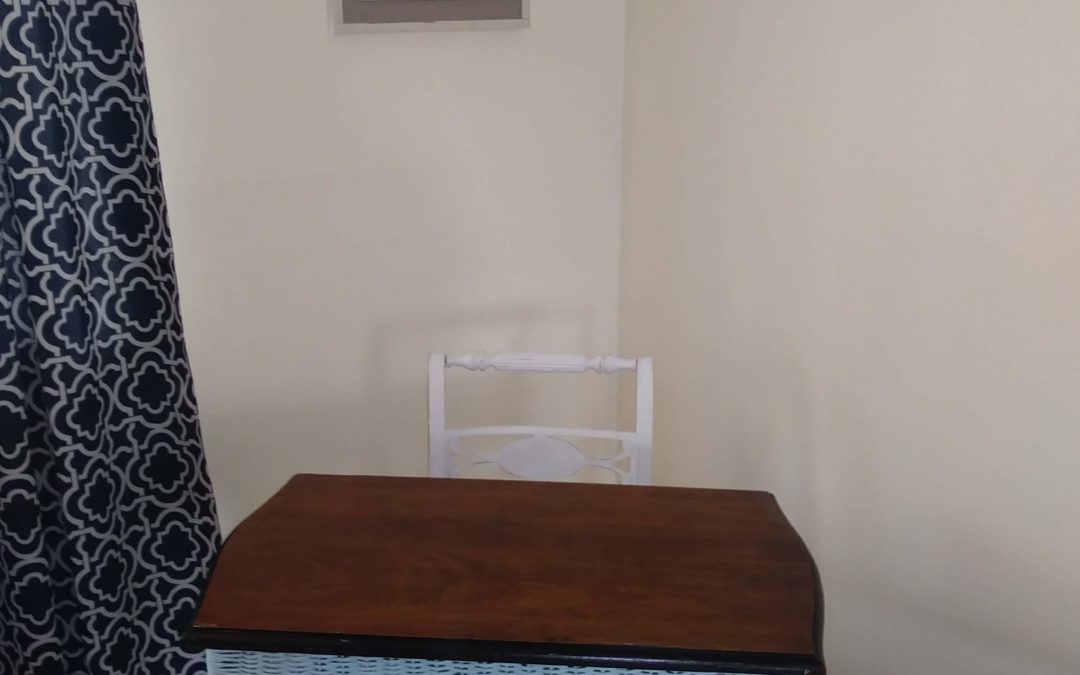
Seat “After”
Desk without laptop on it, it’s so pretty! 
I LOVE the crystal pull. So pretty! 
Up close view of the desk with the chair behind it.
As you can see, I really had fun creating this new workspace for myself. I also love that when I’m not using it, it’s very pretty and goes well with the rest of my decor in my living and dining rooms. My friends have told me, “It’s very Meg looking!”. That always makes me smile. I obviously have a style that is unique to me, so much so, that my friends notice things that they think I would like to have in my house when they are out and about and often send me photos or tell me about them later. This has helped me decorate all of my homes in an affordable and eco-friendly way.
Next week, I’ll be sharing how I used photo frames that I already had, along with a couple of other pieces of art that I just love to create a really special “Gallery Wall” in our family room. It was so easy and took me less than an hour to hang everything up, even with a few moves & modifications (thank you command strips!). I have been putting this project off because I thought creating a “Gallery Wall” would take a ton of time. I envisioned having to cut out craft paper the size of the frames and taping that paper all over the fall to get the spacing and sizes of the frames right. Nope! It was so much easier than that and I can’t wait to tell and show you how easy it truly was. So tune in again next Thursday for this one. After that, I will be talking about some post-pregnancy medical things that have come up for me recently. I’m sure other mid-life moms will be able to relate that post.
What home projects are you currently working on or completed? I’d love to hear about them, even if they didn’t turn out as perfect as you’d like. I especially want to hear about any home projects that you are really proud of and were able to do in a timely manner, like my nap time DIY projects. Please leave a comment below and post photos if you have any. Photos don’t lie and will show off your beautiful project in a way words sometimes simply can’t convey in the same way.
I can picture that corner in your home! Love how you have the desk facing out. I do that too!
Great minds think alike!
You have such a great design eye!
I am reminded of how you helped me (over 10 years ago!) refinish & paint all the used furniture I had gotten for my new apartment 🙂 I had no idea what I was doing, and you helped me out so much by showing me how to sand the wood and meticulously paint the furniture.
Loving the office nook & the light blue color; I am so impressed that you covered a seat cushion too!
Yes! I remember that. I LOVE redoing furniture and giving it a new life.
Love the new office corner that looks like part of the living room. The new chair fabric is really cute. The desk is perfect as being useful and cute.
Thanks Brigid!
I love the haven you created for yourself! And my eye kept going ot your area rug….I love it! I think I know the antique mall you mentioned…I’ve meant to stop in there a million times over the years. I think you’ve convinced me! When life resumes, of course. Enjoy your new spot 🙂
It really is a great shop. Lots to look at and has 3 floors, so go when you have time to really look. Maybe we can meet there when things get back to normal!?!
That’d be a PERFECT date!! I’m in!!
Love your chair! Great job. Would love to work on some things with you!