10 No Demo Reno Ideas to Uplevel Your Living Space!
We are in the process of buying a new, old house in my hometown, which is the definition of small-town USA. I love combing old and new in my decorating style and home decor projects. My “new to me” house is going to be just that. Old according to most people’s standards, but new to me. It was built in 1890. Has been a staple house on “Main Street” since before my mom was even a thought in my Nana’s mind. It has always been considered a stately home and I’m so excited to bring it back to its glory days, but with my own personal stamp on it.
I love to watch all the “Renovation” shows on all the channels, HGTV, FYI, Magnolia Network used to be DIY, and even the British channel DABL. I get GREAT ideas this way and have tried many of them in our many homes. We move a lot. Below you will find my top 10 No Demo Reno Ideas to Uplevel your Living Space. Most of them are super budget-friendly and you may be able to do them in a rental property with your landlord’s permission, of course!
Ten Ideas that will make your living space look expensive & stylish without breaking the bank!
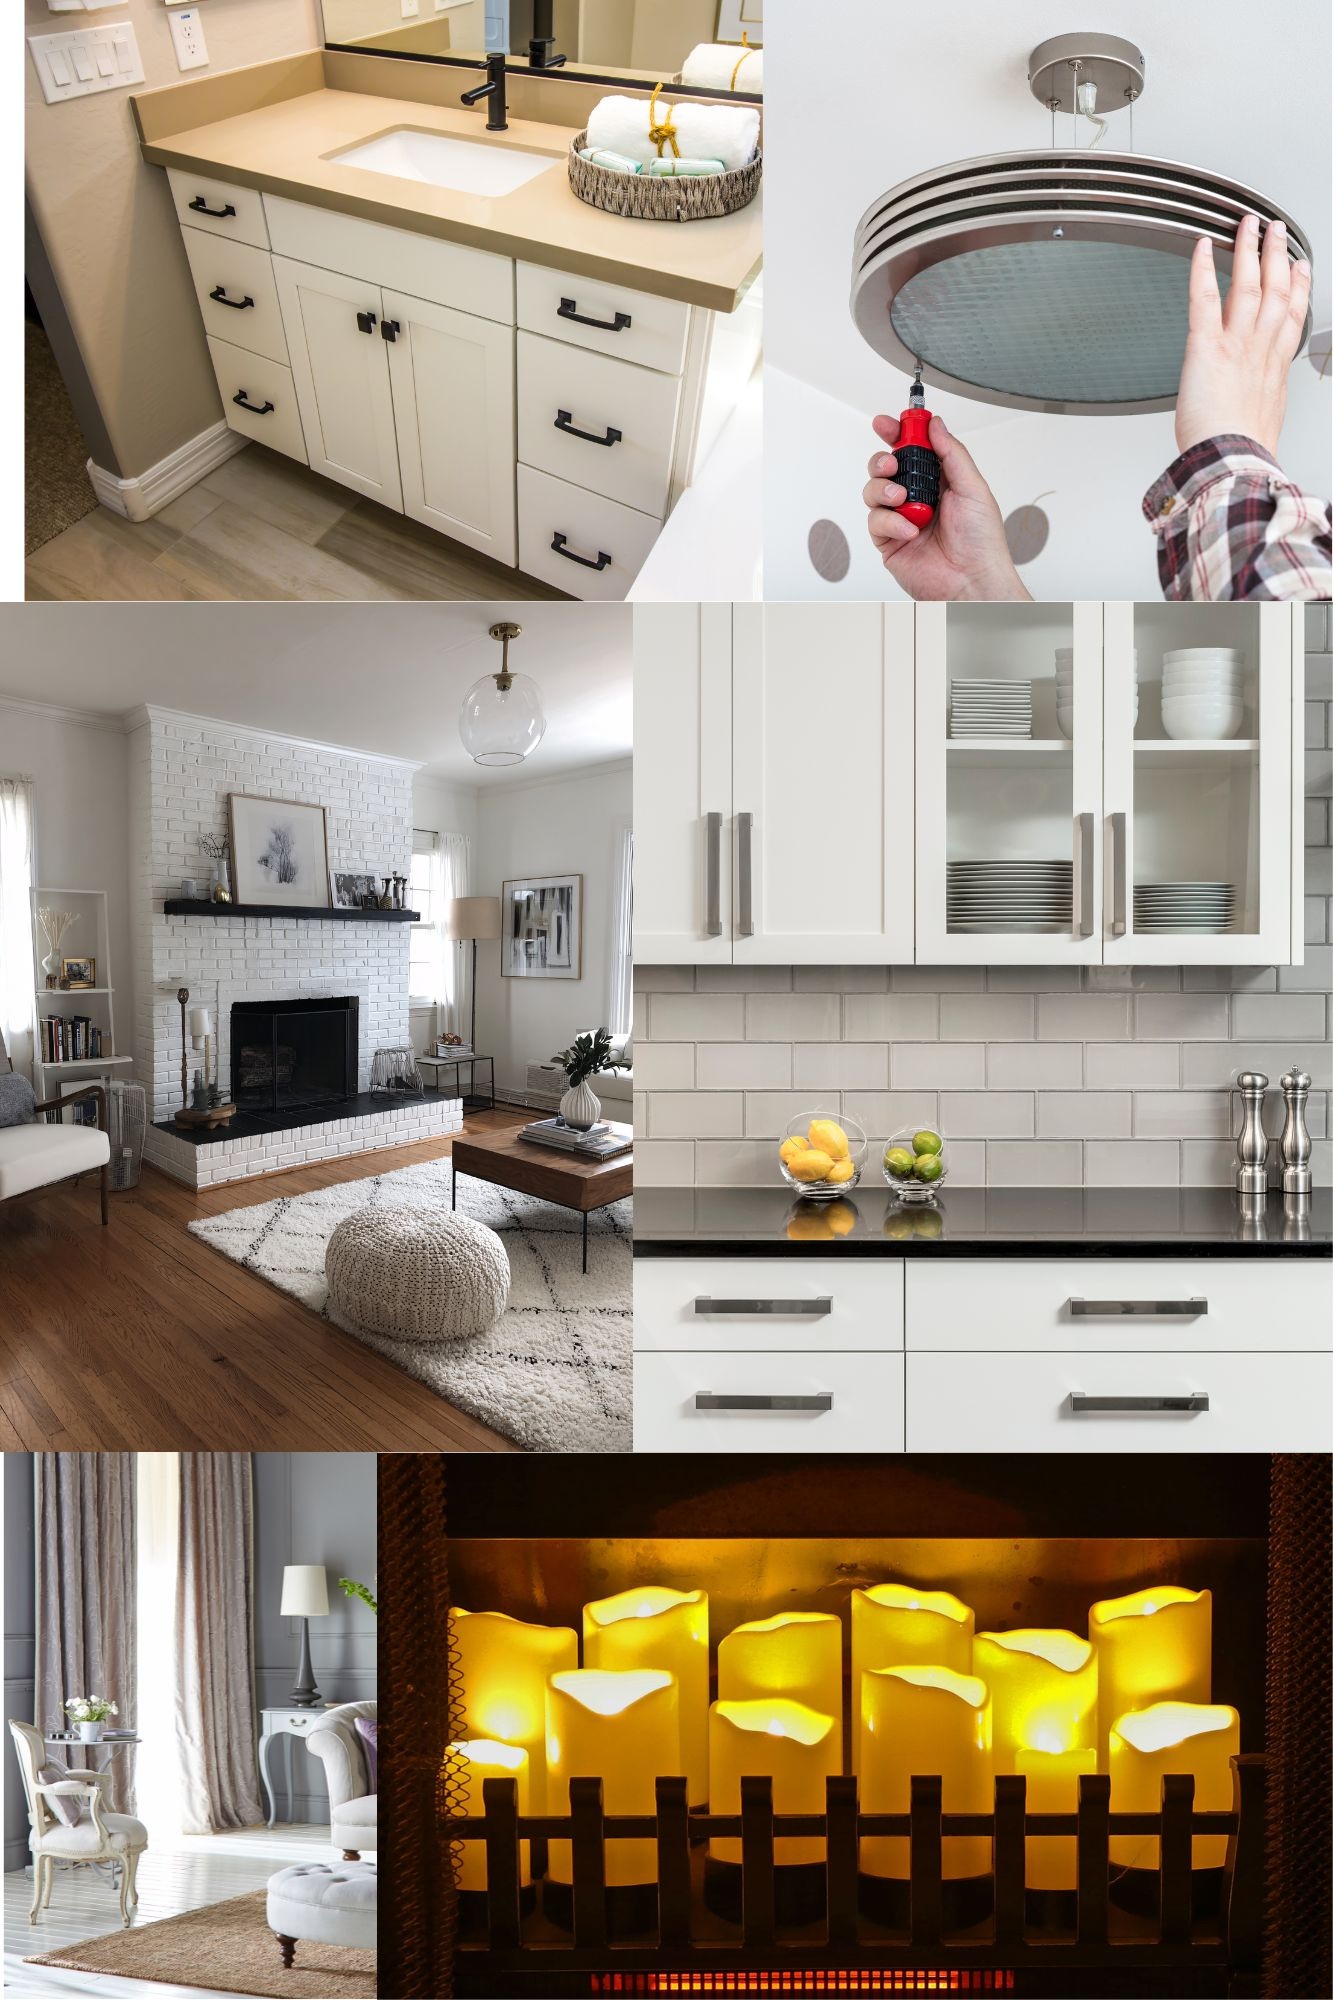
- Replace your old Boob lights! Most builders, flippers, and even landlords install the standard Home Depot or Lowe’s, lower-priced lights also known as boob lights or nipple lights. I replaced all of our lights on the main floor except for 3 (2 were ceiling fans that I actually like. And the hallway light, it’s vintage and I love most things vintage) in our Colorado home.
- Rehang your curtain rods to just below the ceiling. This adds height to your lower ceiling rooms. Yes, you will need longer drapes, but if you don’t love your current drapes, wait until there is a drapery sale at your favorite big box store and then go shopping for the drapes (95 inches is probably a good length for drapery just below the ceiling) of your dreams. Did you know that in Victorian times, if you had extra fabric hanging at the bottom of your curtains or draperies, it was a sign of wealth?! So let the extra drapery fabric hang down and pool on the floor! It not only will show your good design taste but your abundance and wealth!
- Paint…paint will spruce up just about anything. I have painted the old, dingy, and scratched wooden vanities in my bathroom’s more than once. The most recent vanities I painted a crisp shiny off-white, and I also painted the dark wooden mirrors that hung above the vanities. Both vanities have built-in counter/sink combos that were in decent shape, so painting them, up leveled the vanities a bit. It definitely made both of my bathrooms appear lighter and airier, which is what I was going for.
- Upgrading your cabinet and vanity hardware. New hardware will uplevel the look of even builder-grade cabinets. After I painted the vanities mentioned above (and I’ve done this with painted furniture too), I added new hardware. This made the vanities look like they were brand new! What a budget-friendly way to make a big change with just a little time and elbow grease.
- Upgrade your old showerheads. This is a super easy switch and will make showering feel so much more luxurious. Showerheads come in all different styles and sizes. You can have a massaging showerhead. You can have a rain shower head. You can have a brass or gold-looking shower head for a super high-end look. Brass and gold fixtures are back in style!
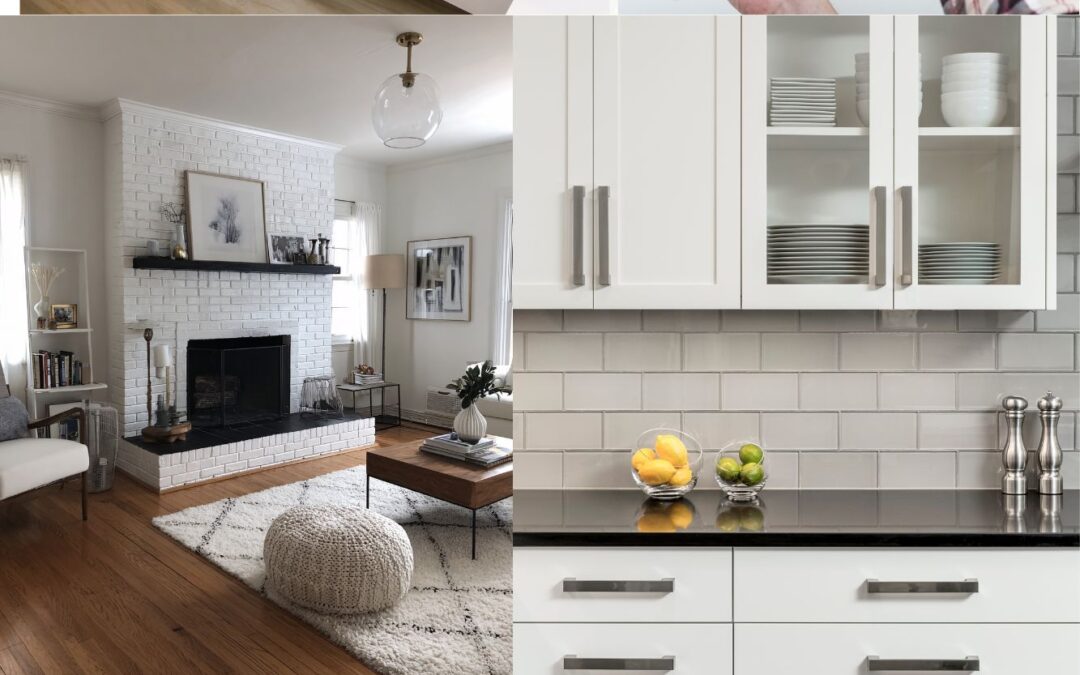
- Paint…more things to paint! Paint or whitewash your old brick fireplace and change out the mantel, depending on the style you are going for.
- If you don’t use your fireplace as a traditional fireplace and you don’t have the budget to convert your wood-burning fireplace just yet (like us), you may love this idea! Clean the firebox and then fill it with different-sized battery-operated LED flameless candles (the ones you can set on a timer or use a remote work best). Then as evening approaches and the light is fading outside, your LED flameless candles will put off an amazing glow and give a great ambient light that will be perfect to relax with as you are settling down for the evening. This was one of my favorites and a super easy trick I did in our Colorado home.
- Don’t compete with the countertops that you don’t love. Instead, enhance them or compliment them with a new backsplash. Subway tile is all the rage right now and creates a timeless look. There are lots of different types of tiles or self-adhesive sheets of tiles that you can choose from. I selected a porcelain tile that is in different shades of beige, from light to dark. It almost has an Ombre look. I love how it turned out and it was very affordable.
- Wallpaper, but not traditional wallpaper. There are so many peel-and-stick wallpapers to choose from now. You can look online and order enough peel and stick wallpaper to cover one wall – think feature wall or to cover an entire room. Wallpaper is making a comeback and is very popular in powder baths, dining rooms, and primary bedrooms again! I used peel-and-stick wallpaper to uplevel my walk-in closet. It turned out amazing and I LOVE it!
- Create a Gallery Wall! If you are like me, you have so many photos of your kids or family and you don’t know what to do with them all. I love to thrift and shop at off-the-wall shops that have unique and very pretty photo frames. I have collected quite an assortment of photo frames over the years. Instead of being matchy-matchy, I used all of the frames I’ve collected over the years and made my very own unique and eclectic Gallery wall in our family room. On top of family photos, I included some art and quotes that I also love. If you like a more streamlined look, you can go to a big box store and buy all matching frames in the different sizes you need and then plan your gallery wall using a grid. The easiest way to plan your gird is to use craft paper. Trace the frame sizes and then decide where you are going to put the frames on your wall. If you use the craft paper with scotch tape, you won’t have multiple holes if you don’t love the way you design it the first time. Another tip is to use the Command Strips that you can remove up to 3 times before they aren’t sticky any longer. I use Command Strips all of the time and love that my walls aren’t damaged or have multiple nail holes everywhere!
There you have it! Ten super easy and cost-effective ways to up level your home without having to do a complete remodel. I’d love to see your before and after photos and I will be adding photos of our new home with before and after photos of any of the projects that I do. Think Mid-Century Modern with an eclectic spin. Stay tuned for more on this exciting new project!